


Installing a pirate ship ride might look like a challenging task, but with the right preparation and professional guidance, it can be smooth and efficient.
No matter if you’re setting up a large pirate ship ride outdoors or a compact mini pirate ship carnival ride indoors, following the right installation steps is key to keeping the ride safe, stable, and running smoothly for years.
This guide covers everything you need to know — from site preparation to testing and inspection.

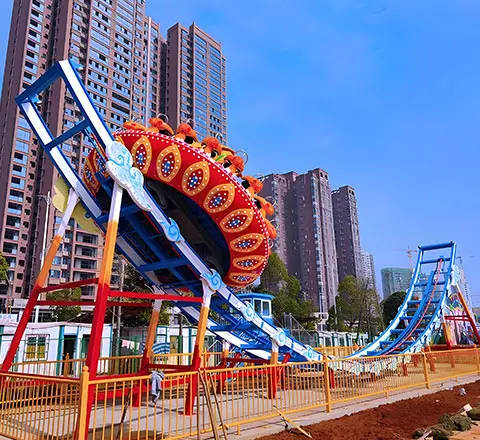
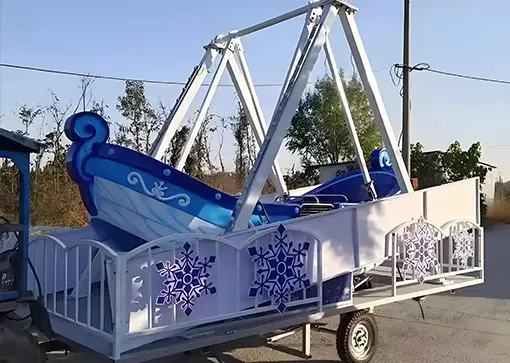
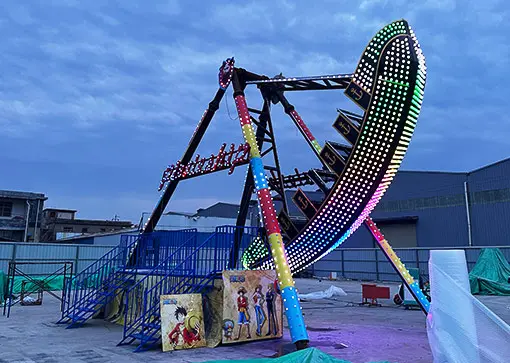
Understanding the Structure of a Pirate Ship Amusement Ride
Before installation begins, it’s essential to understand the basic structure of your equipment.
A typical pirate ship ride consists of:
- Support Columns and Beams – the main frame that carries the entire structure
- Ship Hull (Gondola) – where passengers are seated
- Drive Mechanism – motor, gearbox, and transmission system
- Control System – control box and power connection
- Safety Devices – belts, restraints, and railings
6 Steps to Install a Pirate Ship Ride
Installing a pirate ship ride may seem like a large-scale engineering task, but with proper preparation and the right guidance, the process is both manageable and rewarding.
Whether you’re setting up a mini pirate ship for a shopping mall or a large Viking ship ride, these six steps will help you install your ride safely and efficiently — from ground preparation to final testing.
Step 1: Site Selection and Preparation
Choosing the right site is the foundation of a safe and efficient installation.
- Select a flat, open, and well-drained area.
- Leave 4–5 metres of clearance around the equipment.
- Avoid overhead obstructions such as power lines or trees.
- Reinforce the ground if the soil is loose or uneven.
Proper site planning ensures smooth assembly and easy guest access once the pirate ship boat ride is operational.


Step 2: Foundation Construction
The foundation supports the entire structure and must meet the pirate ship rides manufacturer’s requirements.
- Excavate the site based on foundation drawings.
- Install anchor bolts precisely as specified.
- Pour reinforced concrete and allow sufficient curing time (typically 7–10 days).
- Check for cracks or uneven settlement before assembly.
A strong and level foundation is essential for long-term stability and safe operation.
Step 3: Assembling the Main Structure
Once the foundation is ready, begin assembling the main frame.
- Use cranes or lifting equipment to install support columns and cross beams.
- Align and secure all bolts tightly according to the serial numbers and drawing references.
- Attach the top beam and pull rods, ensuring balance and symmetry.
- After structural assembly, install the swing ship ride body (gondola) by aligning the connecting lugs and inserting pin shafts securely.
Every step must follow the official installation drawings provided by your manufacturer.


Step 4: Electrical and Mechanical System Installation
This stage involves precision and safety.
- Mount the drive motor and connect it to the gearbox and transmission system.
- Install the control box and connect all electrical lines (L1/L2/L3/N).
- Verify proper grounding and insulation.
- Test the control panel’s response, including start, stop, emergency, and braking functions.
If this is your first installation, consult your Viking ship ride manufacturer’s technician for on-site support — it ensures compliance with both electrical and mechanical safety standards.
Step 5: Safety Devices and Decoration
After the main setup, it’s time to focus on passenger safety and aesthetics.
- Install seat restraints, lap bars, and belts according to local safety codes.
- Add decorative elements like LED lights, fiberglass ornaments, and themed details to create a pirate atmosphere.
- Ensure all visible parts are painted, smooth, and corrosion-resistant.
Safety and design go hand in hand — a secure and visually engaging ride attracts more visitors.


Step 6: Testing and Inspection
Before allowing passengers on board, conduct a full performance and safety test. (See more: Safety Measures of Pirate Ship Rides)
Static Test:
- Check for structural balance and stability without movement.
Dynamic Test:
- Operate the pirate ship amusement ride at low speed, checking for abnormal noise or vibration.
Load Test:
- Add weight equivalent to full capacity and verify that the ride operates smoothly.
After all checks are completed, document the results and prepare for an official inspection from local safety authorities.
Installation Duration and Crew Requirements
Mobile Mini Pirate Ship Ride for Sale

Pirate Ship Slide Flying Car for Sale

12 Seats Mini Pirate Ship Ride for Sale

40 Seats Foundation-Free Pirate Ship

36 Seats Pirate Ship Ride For Sale
24 Seats Pirate Ship Ride for Sale
| Ride Size | Installation Time | Recommended Crew |
| Mini Pirate Ship Ride (6–12 seats) | 5–7 days | 3–4 technicians |
| Medium Pirate Ship Ride (16–24 seats) | 10–15 days | 5–6 technicians |
| Large Pirate Ship Ride (32–40 seats) | 15–20 days | 6–8 technicians |
Installation times may vary depending on site conditions, weather, and technical team experience.
Safety Precautions During Installation
- Always wear protective gear (helmets, gloves, harnesses).
- Check anchor bolts and welding points regularly.
- Keep the work area clean and free from clutter.
- Verify all control systems before powering on.
- Never test the ride with passengers before final inspection.
For more safety and technical details, explore Pirate Ship Ride Safety Guide: What Every Park Owner Must Know.


Common Questions About Pirate Ship Ride Installation
For more purchase-related insights, check 20 FAQs to Help You Buy a Suitable Pirate Ship Ride.
Professional Installation Support
If you purchase a pirate ship ride from Carnee Rides, we provide:
- On-site installation assistance from certified engineers
- Technical training for operators
- After-sales support, including maintenance and troubleshooting
Whether you are setting up a permanent park attraction or a portable version, Carnee Rides ensures a seamless experience from delivery to operation.
Final Thoughts
Installing a pirate ship ride is a detailed process that requires planning, accuracy, and safety awareness.
By following these steps, you can confidently bring your attraction to life and provide guests with a thrilling, unforgettable experience.


