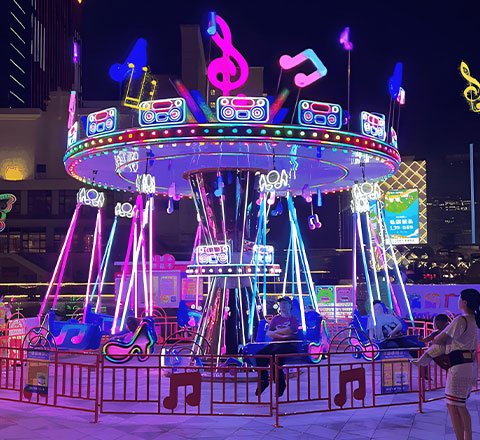
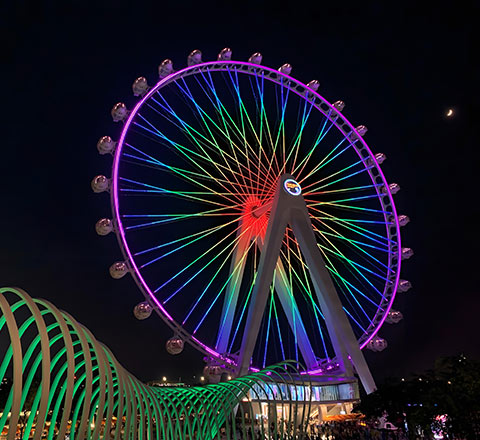
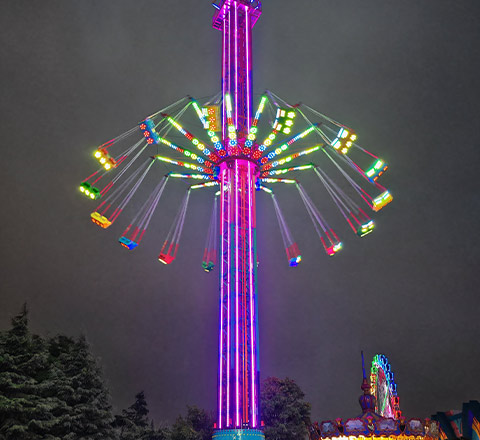
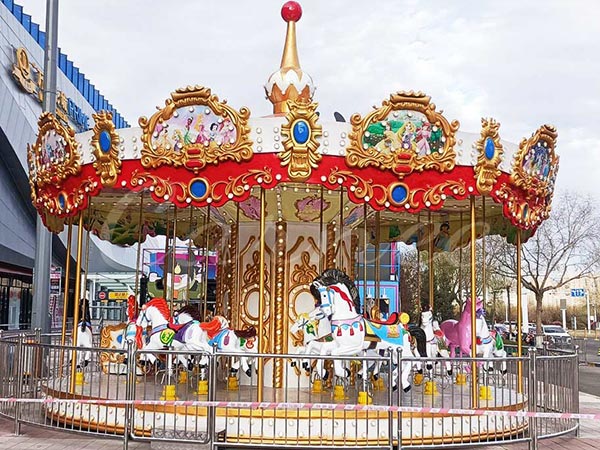
The carousels (also known as the merry-go-rounds) are classic carnival rides that attract many visitors. Installing a 16 seats carousel amusement ride involves following a series of steps to ensure each part is installed correctly. This article provides a detailed breakdown of the installation process, from the basic framework to the decorative details, helping you understand each step of the installation.
A Detailed Step-by-Step Guide for a 16 Seats Carousel Amusement Park Rides
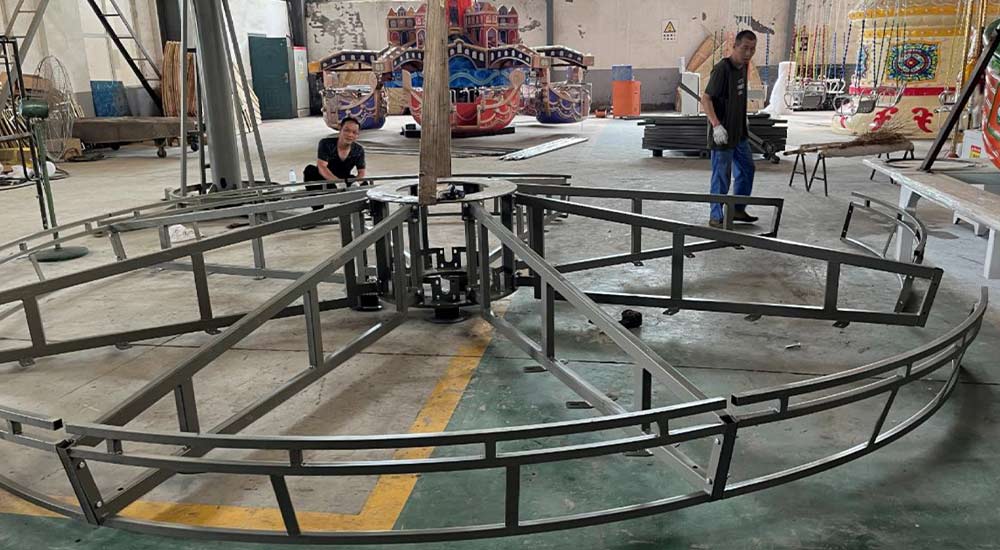
1. Installing the Umbrella Frame: Connecting Eight Key Parts
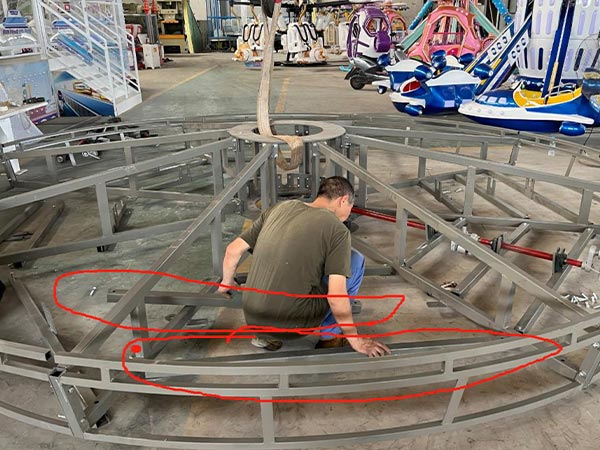
The first step in the installation process is the umbrella frame, which is a crucial part of the carousel. The entire umbrella frame consists of eight major components. Connect each part according to the installation diagram, ensuring that the frame structure is stable to facilitate the subsequent steps.
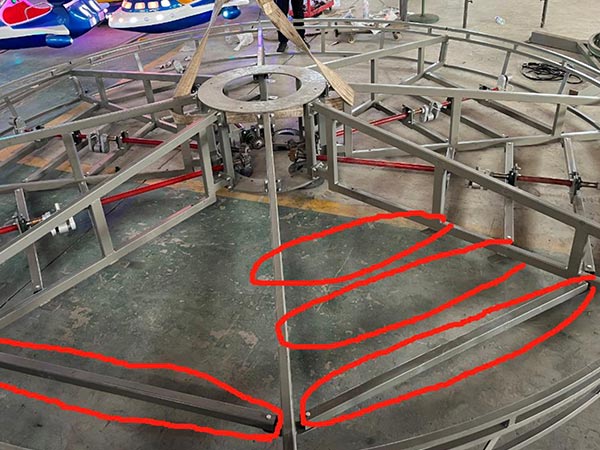
2. Installing the Connecting Rods: Three Different Lengths
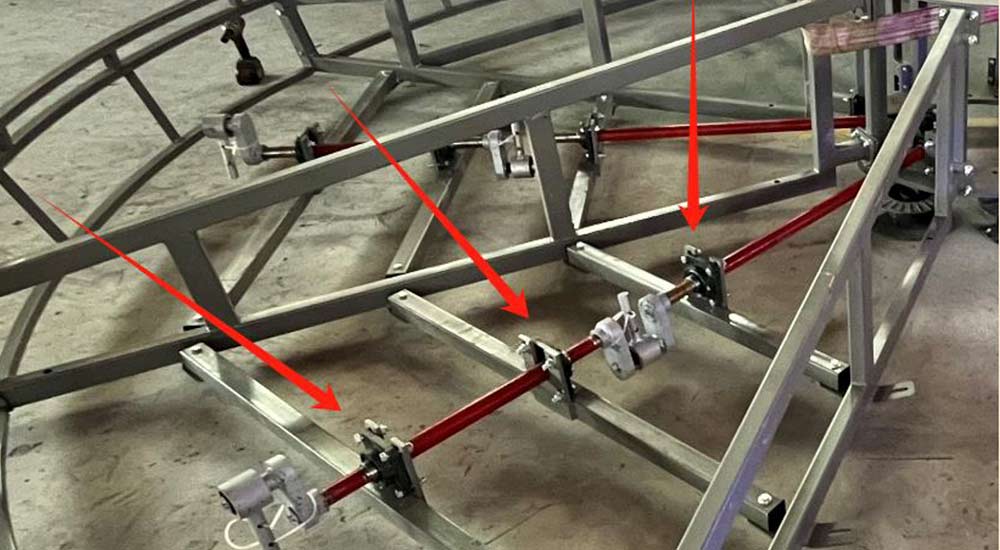
Each connecting part is equipped with three connecting rods of different lengths. Install these rods in their respective positions, ensuring they are firmly secured to provide the necessary support.
3. Installing the Drive Shaft Bracket
Next, install the drive shaft bracket. This is an essential component of the carousel’s power system, connecting the motor to the rotating platform, ensuring smooth rotation and providing enough power.
4. Connecting the Umbrella Frame to the Central Column
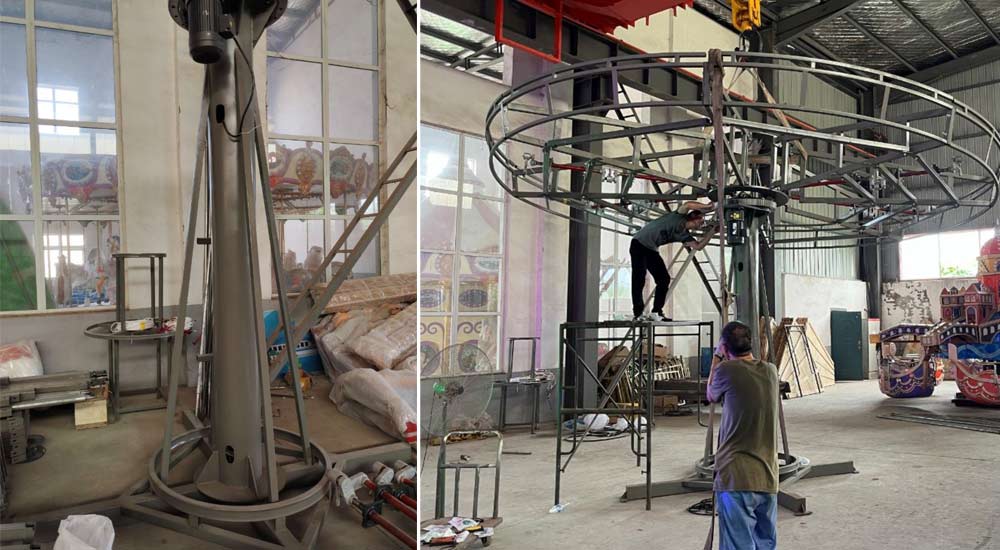
Now, connect the umbrella frame to the central column and secure it with bolts. This step is the foundation for the carousel’s stable operation. The central column supports the entire structure and serves as the backbone of the carousel.
5. Installing the Top Decorative Iron Frame
Install the top decorative iron frame on the umbrella frame. This not only enhances the aesthetic appeal of the carousel but also ensures the stability of the top structure, protecting it from external environmental factors.
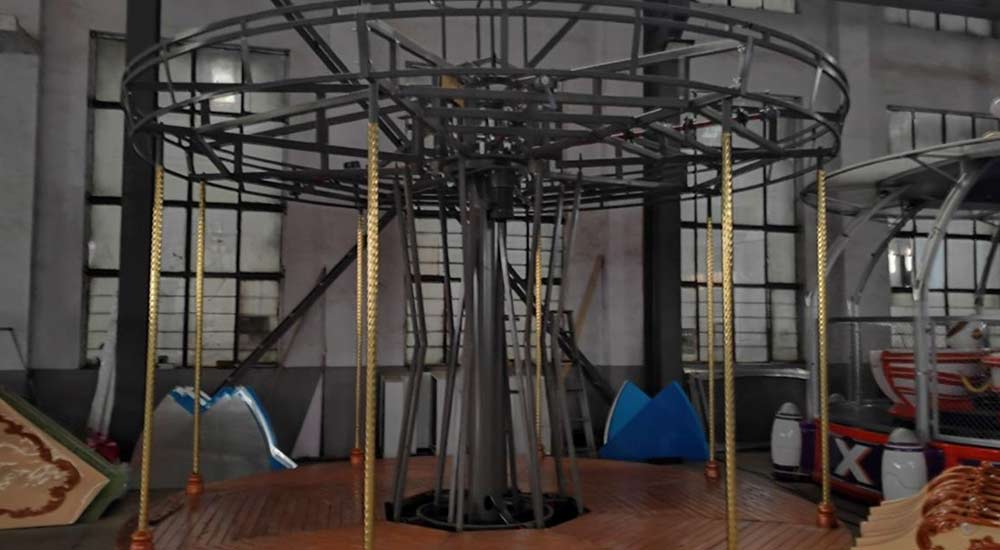
6. Installing the Outermost Column
Before installing the outermost column, pre-install the decorative pipe on the column and the bottom decoration. This step ensures that the column looks neat and beautiful while also enhancing its stability.
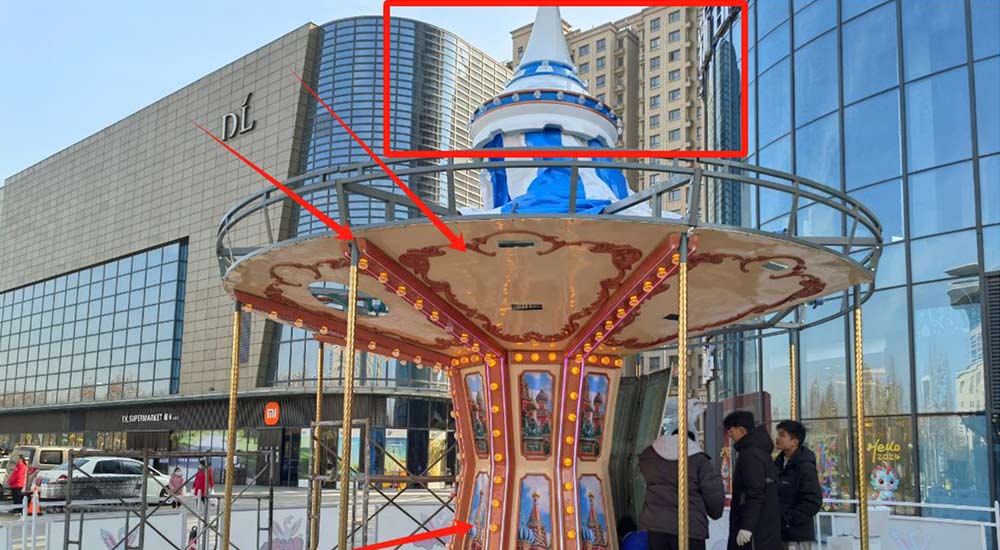
7. Installing the Platform and Securing the Wooden Boards
Installing the platform is a crucial step. Make sure the platform is securely fixed to the connecting parts with bolts. Also, install the wooden boards on the platform to improve its strength and comfort.
8. Installing the Tarpaulin and Top Fiberglass Decoration
First, fix the tarpaulin to the top, ensuring its position is accurate, but there is no need to unfold it. Next, install the top fiberglass decoration to enhance the visual design of the carousel.
9. Installing the Top Fiberglass Ceiling Decoration
When installing the top decoration, first install the six fan-shaped decorative panels. Then, install the rectangular light strip to add lighting effects, creating a magical amusement atmosphere.
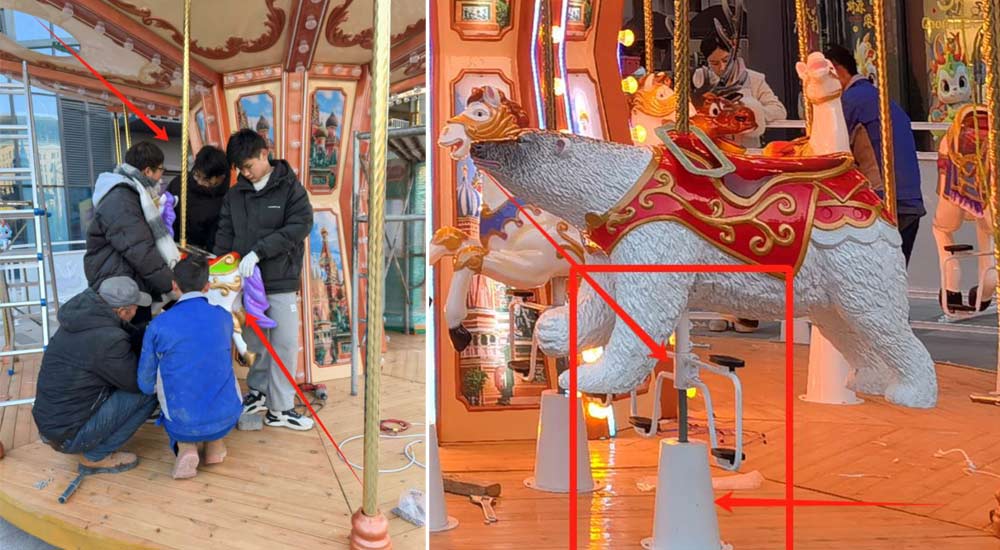
10. Installing the Central Column Decoration
The central column is the backbone of the carousel, so its decoration is very important. First, install the large panel, followed by the installation of the light strip to enhance the visual effect of the central column.
11. Installing the Horse Pole, Stirrups, and Horse Pole Bottom Decorations
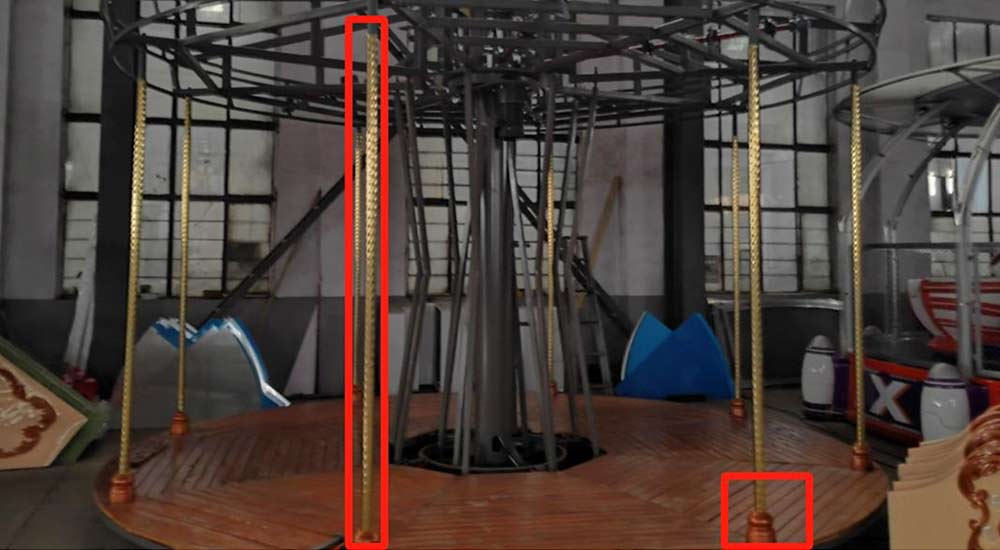
When installing the horse pole and stirrups, place the horse pole on the golden pole cover in advance. Also, ensure that the stirrups and horse pole bottom decoration are in place before installing the horse.

12. Spreading the Umbrella Tarpaulin on the Umbrella Frame and Securing It
Spread the umbrella tarpaulin on the umbrella frame and make sure it is securely fixed, preventing any looseness or detachment during later use.
13. Installing the Eaves Fiberglass Decoration
The eaves decoration not only enhances the aesthetic appeal of the carousel but also serves a protective purpose. Ensure that each decorative piece is firmly in place to improve the overall visual effect.

14. Connecting the Electric Control Cabinet
Finally, connect the electric control cabinet. The control cabinet is responsible for managing the entire carousel system, including rotation speed, lighting, and music control. This is the key component that ensures the carousel operates smoothly.
Conclusion:
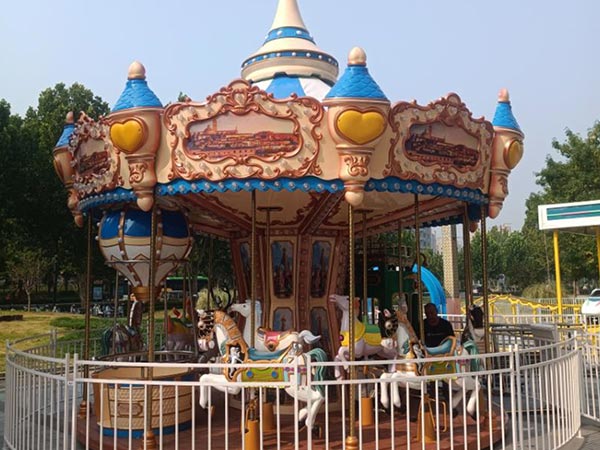
Installing a 16-seater carousel ride involves several steps, from building the basic framework to installing decorative details. Every step is crucial to the success of the installation.
By following these detailed steps, you will better understand the installation process and ensure the carousel is completed successfully, providing visitors with an exciting and enjoyable ride experience.
If you encounter any issues during the installation process, please feel free to contact Carnee Rides, a professional carousel ride manufacturer. We can send engineers to assist with the installation and ensure everything is done properly.
Additionally, if you are interested in amusement park design planning, amusement equipment procurement, or other needs, please check out our product catalog and contact our customer managers for direct factory prices!

